EasyPush uses Umbraco CMS (open-source - see here) as it's back-end for storing the media and configuring the displayed screens. This blog post is a simple guide to using the two main type of screens (Standard and Asset Overview) to deploy already-uploaded media.
NOTE: The background picture I'm using in some of the screen captures below comes from Wikimedia Commons and is called "Outaouais 1024x768.JPG" (By Maurice Thibaudeau (Own work) [Public domain]). The full image is available here (I re-sized it using Microsoft Paint to 1024x748 - EasyPush/iPad size).
Overview
There are basically two types of screen you can use with
EasyPush; Standard Screens (these are like the homepage when you start the
application) and Asset Overview Screens (these allow you to push media down to
the iPad).
To create either type of screen right-click the parent item
in the Navigator View and select “create”;
 |
| EasyPush: Create Dialog |
You need to enter the name of the screen you wish to create –
this isn’t displayed to the end-user, it’s just for use in the Navigation View.
In the “Choose Document Type” drop down list you have
several options, pick the one you’re interested in (based on the descriptions
below) and click “Create”.
Scheduling Publishing/ Withdrawing Media
Whatever type of screen you create one of the tabs will be
called “Properties” and will look something like this;
 |
| EasyPush: Publishing Options |
As you can see in the screen shot above the “Publish at” and
“Remove at” dates are blank. This means as soon as I clicked “Publish” the
document is available to users (via the UPDATE mechanism) and will remain
available until I click “Unpublish” (or enter a “Remove at” date).
If you want to control when a document becomes available
then you can simple enter the dates here.
Securing Screens (and Media Items)
This is probably the most important area if you're dealing with a large organization that wants to make sure only the right people have access to specific documents, or (as in our case) providing German users with a German version, English users with an English version, and French users with a French version.
To set permissions on an item right-click it in the Navigation view to the left and select "Public Access";
 |
| EasyPush: Public Access Permissions |
NOTE: It's worth bearing in mind that permissions are indirectly inherited (but cannot be overridden). For example if at the top level you turn off a groups access and then at a level beneath you turn it back on they will not be able to access the lower down items as they can't see them. I'm not sure if they could access
We use role-based permissions (as it would have to be a pretty small infrequently-updated list of people to do single user permissions) so selecting that and then clicking "Select" gets you to the next screen;
 |
| EasyPush: Role-based Protection |
You can now select which groups have permission to access
the page. By default (blank) means whoever can get to it (i.e. people with
access to the parent).
For the Login and Error page I pick the top level page. When
you’re done click “Update” and check the results in an iPad.
Standard Screen
The standard screen is the real workhorse of the EasyPush
deployment. Standard screens let you group documents and display information in
a way convenient for your users. After you have created a screen you will see
something similar to the screen shot below;
 |
| Easy Push: New Standard Screen |
You’ll notice that the new form I’ve created is called “Test
Standard Screen” and appears in light grey text in the Navigation View on the
left, this is because while it exists on the system it has not yet been
published.
Selecting the new screen shows the properties on the right;
 |
| EasyPush: Standard Screen Properties |
The only mandatory item that needs to be entered before the
screen can be published is under the “General” tab;
 |
| EasyPush: General Properties for Standard Screen |
Every Screen must have a Title; this is what the user will
see on their iPad in order to select the screen (and will appear in the
breadcrumbs at the top right).
Below are individual sections relating to each of the tabs.
From the General Tab to add a background image click the "Choose" link;
|
| EasyPush: General Tab, Background Images |
The image you select must have been previously uploaded in the "Media" section of the website. You'll notice that the specified size (1024x748 pixels) is 20 pixels shorter than the iPads resolution, this is to accommodate the bar at the top of the screen.
If you are stuck for background images I can recommend doing a search for 1024x768 on Wikimedia Commons (and then using Paint to re-size).
The Newsticker
|
| EasyPush: Newsticker Properties |
This is the first tab and by default the Newsticker is not
shown (as above).
If you check the checkbox above and enter some text it will
appear at the very bottom of the screen and will move across the screen from
right to left;
 |
| EasyPush: iPad Application Displaying Newsticker |
As you can see there is a lot of space to put in a lot of text and, if you choose you background poorly, it can be next to impossible to read!
Working With the Infobox
This is the third tab on the Standard Screen properties;
 |
| EasyPush: Infobox Properties |
In a similar way to the Newsticker the Infobox is not
visible by default and you enable it in the same way. Enter the title text (you
have about 25 characters and this will be automatically CAPITALISED when it
gets displayed) and a message for the inside of the Infobox. Optionally you can
specify a “Target” this is the screen that will open when the user touches on
the Infobox.
When you have completed the setup and published the changes
you will see something similar to;
 |
| EasyPush: Displaying an Infobox |
Use the Asset Overview Screen to publish media items to the
end-user. Unlike the Standard Screen there are only two tabs for the Asset
Overview Screen;
 |
| EasyPush: Asset Overview Screen Properties |
Similar to the Standard Screen the only mandatory property
that is required is “Title”. Fill this in and then you will be able to publish
the screen;
 |
| EasyPush: Asset Overview Screen (on iPad) |
Adding Media
To add media to the screen right-click it in the Navigation
View and select “Create”;
 |
| EasyPush: Adding Media to Asset Overview Screen |
Enter the name for the item you wish to create, this is only used in the Navigation View (not displayed to the user) and select the Document Type from the list of supported documents that you wish to publish. Click "Create".
This will then have added a new (grey – unpublished) item in
the Navigation View. These items have three property pages;
 |
| EasyPush: Media Item Properties |
The mandatory fields this time round are Title and Thumbnail
(on the general tab) and then Excel File (on the settings tab).
Enter a Title, select a Thumbnail (there are some in the
_globals) Media library folder if you need generic “Excel” ones), and pick an
uploaded Excel file from your Media library. Then click “Publish” and view on
iPad;
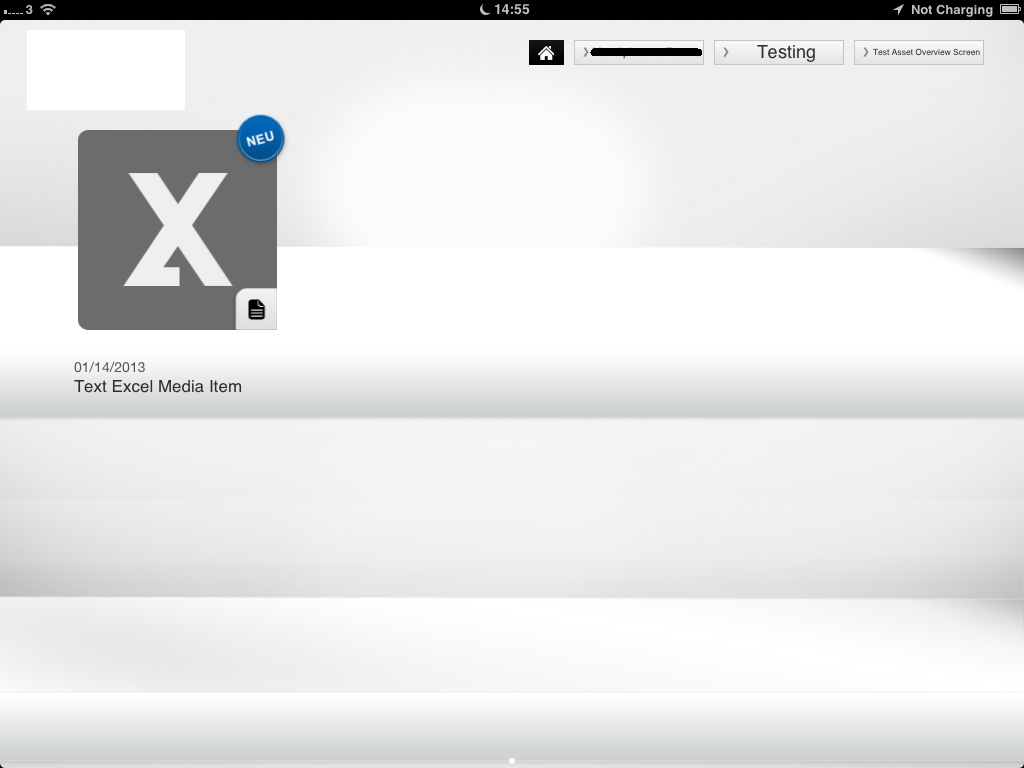 |
| EasyPush: iPad Application Showing A Media Item |
No comments:
Post a Comment