The obvious first step is to log onto the source server were you have been developing/ testing your new workflow and run the HR.NET Admin Console provided by Vizual as part of the standard install.
Prerequisites
- Obviously you'll need two HR.NET instances, you'll need to be able to run the Admin Console for the two instances (i.e. you will need a HR.NET user account with permissions)
- You need to have created a directory on both servers called "C:\Export" and some means of moving files between the two servers into the two directories (if this directory is missing you will get an error message);

- You need to understand what you're doing! Vizual do a very good training course and offer a very high standard of support.
Source Server (The server to export from)
Log on to "Admin Console"
Using the Admin Console browse to the Workflow you wish to export and right-click it;

Select "Add to Export List" (second item from the bottom) - this will add the Workflow to a list of items to be exported
From the main menu at the top select "Tools > Export > View/ Export ..."

This will then display something like;

This is showing you that your Workflow is dependant on these other objects. In this case two tables and a directory. It's generally inadvisable to move these objects unless you really know what you're doing - you should unselect the checkboxes next to each of them so the screen looks like this;

Click "Export"

This is prompting you for the name of the file you are going to create which will contain your Workflow.
When you click "OK" the file is saved in the C:\Exports folder;

You should now look at moving these files between the folder on the source server, and the folder on the destination folder.
Destination Server
Log on to "Admin Console"
From the main menu select "Tools > Import ..."

This will display the following dialog;

The list of files displayed at the top is the list of XML files in the "C:\Exports" directory (so make sure you have copied the file there!), select the file you wish to import and click "OK".

The list of objects in the XML file is displayed - select the object you wish to import and then click "Import" at the bottom of the dialog.
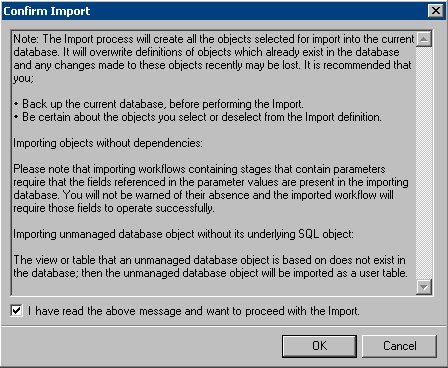
Click "OK to complete the import process.