This blog post is simply a series of steps necessary to migrate the servers. There is one "gotcha" if you try and install the new profiles without removing the old ones you get a "Failed" message but the following simple steps should work for most people.
The first thing to note is that if you aren't a IT user, if you're an end-user, and you start messing around with the profiles on your iDevice you can expect a phone call from your IT department (who hopefully will be monitoring for this!) wanting to know what you're doing. If you're an end-user don't touch - this blog post isn't for you.
You will need the server name, active directory username (and password), iTunes Store account password, and the devices passcode in order to make these changes.
The first thing to do is find the MobileIron application the iDevice;
 |
| MobileIron Application |
When you've found it press and hold it until it "wiggles" and a black cross appears at the top-left of the icon. Press the cross (to remove the application). A dialog will appear;
 |
| iPad > Deleting an Application Dialog |
Push "Delete" to remove the application.
Next find the "Settings" application and open it;
 |
| iPad Settings Application |
Highlight "General" on the left-hand side and then on the right scroll all the way down to the bottom and you should see a "Profiles" button - push it;
 |
| Settings > Profiles > Installed Profiles |
This shows you a list of the profiles that have been installed on the iDevice. It's "likely" that all of these have been installed via MobileIron but there is no way to know for absolute certainty so perform the next steps at your own risk!
Touch on the top profile;
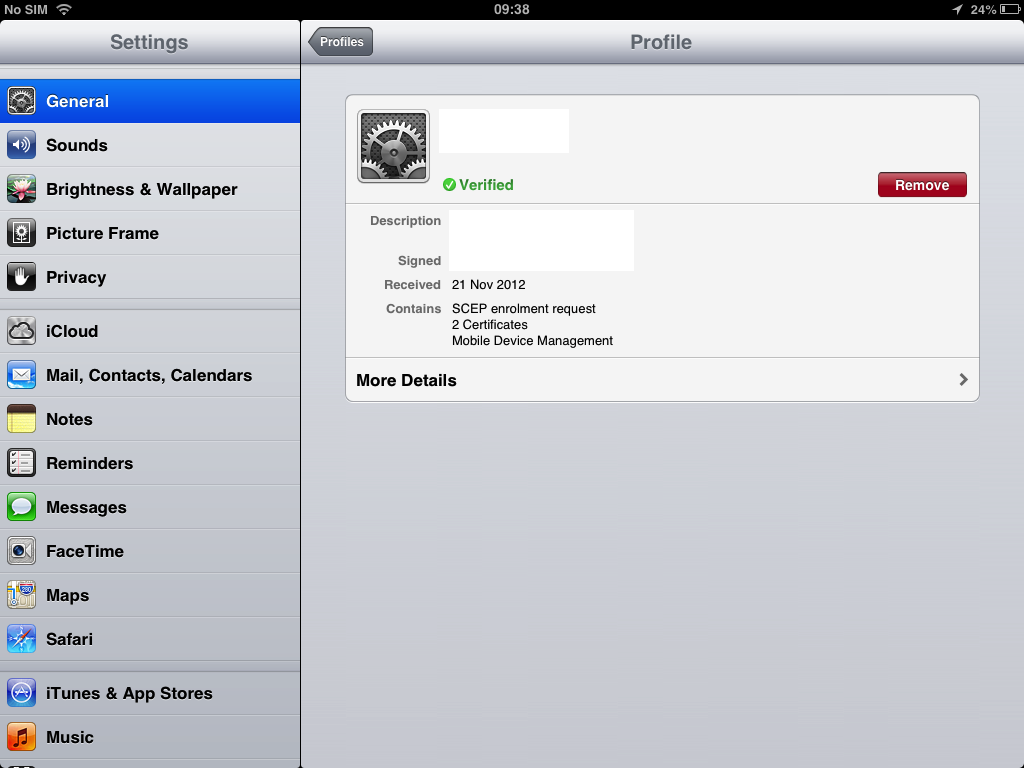 |
| Profile Details |
Touch "Remove". You'll be prompted for your Passcode, enter it and the profile will be removed.
On the assumption that the top profile is the "master" profile all the other profiles that are dependant on it should be removed as well;
 |
| Settings > Profiles > None available |
If you don't remove the existing profiles you can get into trouble when installing a new one so it's best to get them out of the way first. You could, alternatively, de-allocated the device on the old server but this will mean you will be blocking the users access until they perform these steps and - generally - it's better for them to do it when it's convenient for them rather than forcing them to do it when the next turn the iPad on!
Now let's setup the new configuration.
Locate the "App Store" application and open it.
Go to either the Featured, Top Charts, or Genius tabs (at the bottom) and enter “MobileIron” (note no space) into the search box at the top right;
 |
| MobileIron Application (in the App Store) |
Touch INSTALL (or FREE).
The download and installation will only take a few minutes, you will be prompted for your iTunes password.
Once it’s complete touch on “OPEN”.
 |
| MobileIron Configuration Screen |
You'll now be prompted for a username (usually Active Directory), the server name, and password. Once you've entered these touch "Go". A dialog will appear;
 |
| MobileIron Login Dialog |
Touch "OK".
After a few seconds you will see the standard MobileIron screen;
 |
| MobileIron Standard Screen |
Touch "Settings" (on the bottom left);
 |
| MobileIron > Settings |
Touch on "Check for Updates";
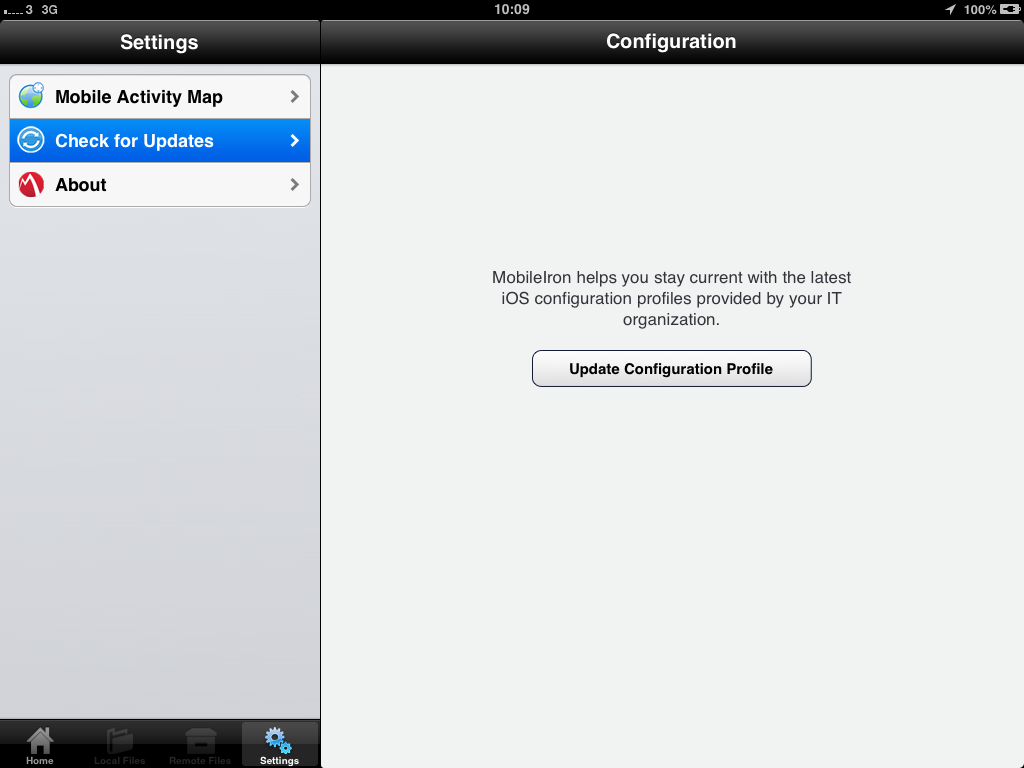 |
| MobileIron > Settings > Check For Updates |
Touch on "Update Configuration Profile".
A dialog of the "are you sure"-type will appear, touch "YES". A few seconds will pass and you'll be automatically taken to the Settings application and a dialog will appear;
 |
| Settings > Install Profile |
Touch "Install". A dialog will appear;
 |
| "Install Profile" dialog |
Touch “Install Now” and enter your Passcode.
A few seconds will pass and then a new dialog will appear;
 |
| Mobile Device Management Dialog |
Touch “Install”
Touch “Done”
Go into the “Settings” application, then “General” then “Profiles”. Depending on the speed of your internet connection the other profiles will be downloaded from the server, if these profiles haven’t appeared within a few minutes then go back into MobileIron and repeat the steps from “Check for Updates”/ “Update Configuration Profile”.


