This is intended to be really simple guide to creating 200x??? pixel thumbnails for an existing document. I'm currently using these small thumbnails as part of the EasyPush application as an alternative to "template" thumbnails (i.e. one for all Word documents). It looks much nicer if everything has it's own thumbnail.
The first step is to open the document you wish to create the thumbnail for. I've picked a PDF I just happened to have sitting around (Noetix Search Administrator guide). It's possible to use Word, Powerpoint, etc - just make sure you're viewing a "Print Preview" to ensure that you aren't getting any additional lines on the screen you're not interested;
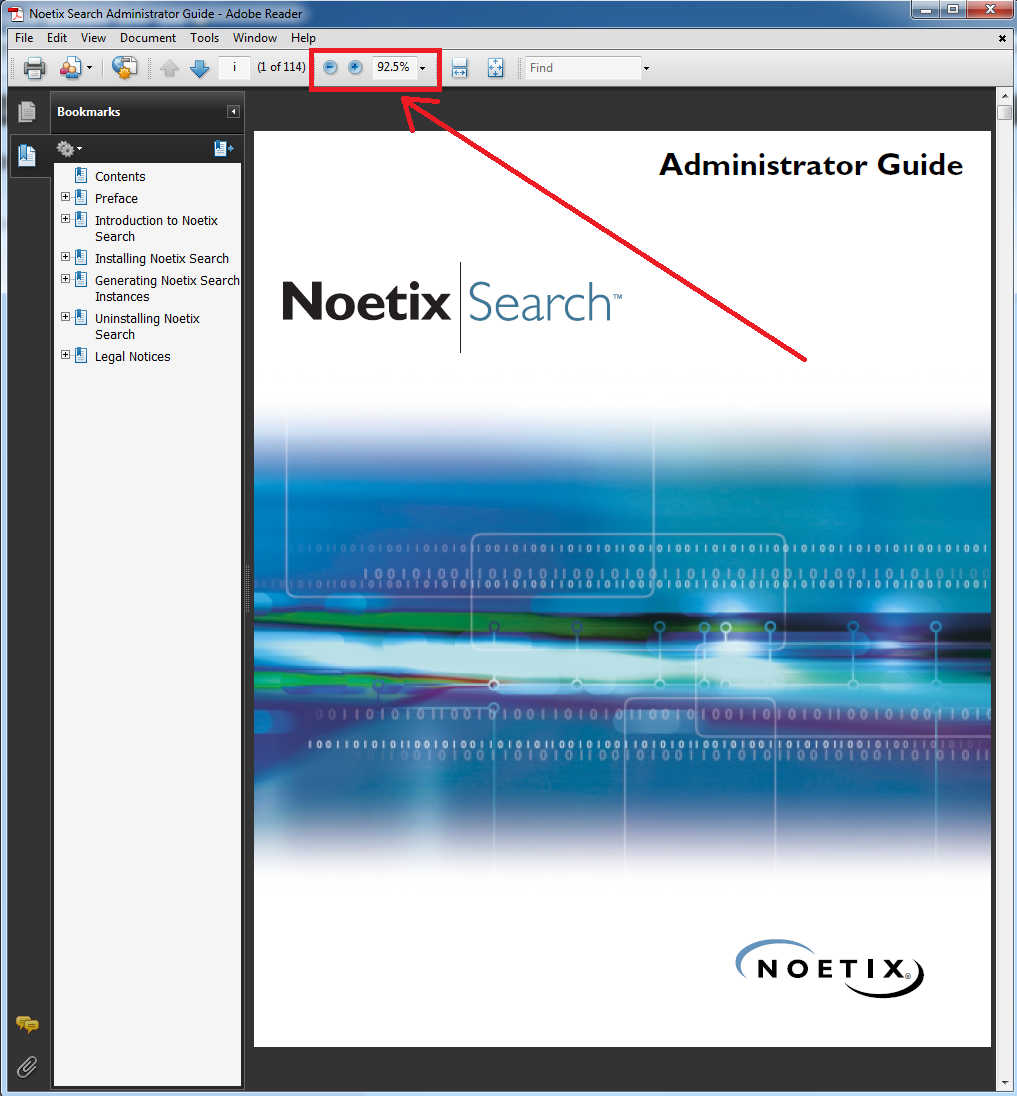 |
| Adobe PDF Reader |
You'll notice that I've highlighted the enlarge/reduce buttons - click the reduce button until you can see the entire document on one screen. When you've managed to do that start the "Snipping Tool" (provided as part of Windows) and grab a capture of just the document image;
 |
| Full-size Document Image |
You'll notice that as the document is predominately white I've included the border around the edge from Adobe Acrobat - this makes it stand out a bit better if you're using a white background.
If you look at the size of this image you'll notice that it's quite large; 539x666. This is way too big to be a thumbnail so you need to re-size it to make it smaller.
Save the image (from the "Snipping Tool") into a directory and then right-click it and choose "Edit". This *should* open it in Microsoft Paint;
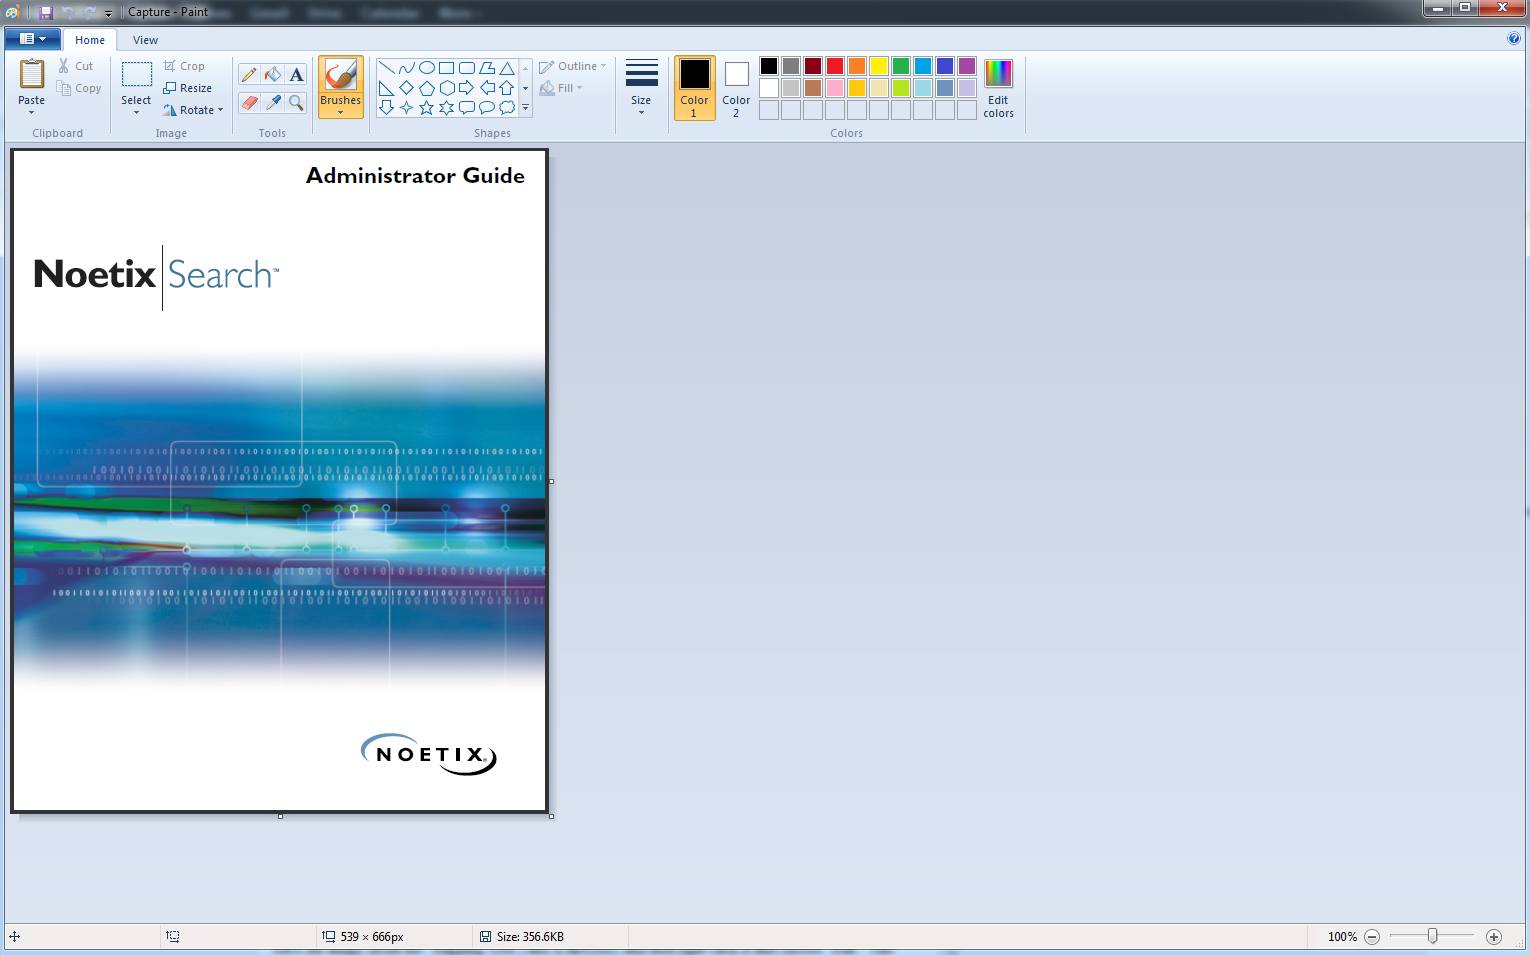 |
| Microsoft Paint: Screen Capture Image |
I've pretty much decided that the maximum size of my thumbnails will be 200 pixels in any direction - this is generally a good size and fits most places where you'd need to use a thumbnail. To alter the size of the image in Microsoft Paint click on the "Resize" button at the top left;
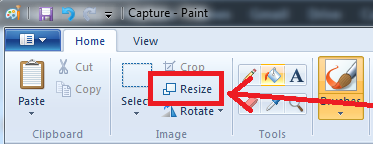 |
| Microsoft Paint: Resize Button |
This will display the "Resize and Skew" dialog;
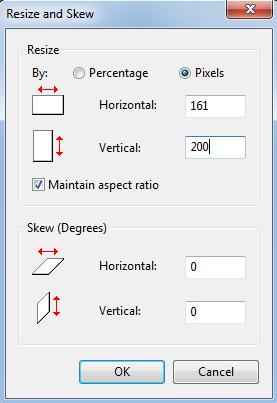 |
| Microsoft Paint: Resize and Skew Dialog |
The first thing to do is click on "Pixels" at the top and then change whichever is the larger of the Horizonal or Veritcal numbers to 200 - so long as you have "Maintain aspect ratio" checked the smaller will be automatically adjusted.
Click "OK".
Then save the image and you have your new thumbnail - see below;
 |
| Document Thumbnail - Final Version |
The final re-sized size is 161x200.
No comments:
Post a Comment